The Lucid player program opens with four windows (Fig. 1). The top left window contains the list of ‘Features’ (a feature, characteristic or state of the cell) available to choose from. The top right window contains the list of ‘Entities’ (species) included in the key. The bottom left window contains the list of ‘Features Chosen’, being those features you select or measurements and values you enter. The top right window contains the list of ‘Entities Discarded’, being those species excluded from the available list as you specify the features of your sample cell(s).
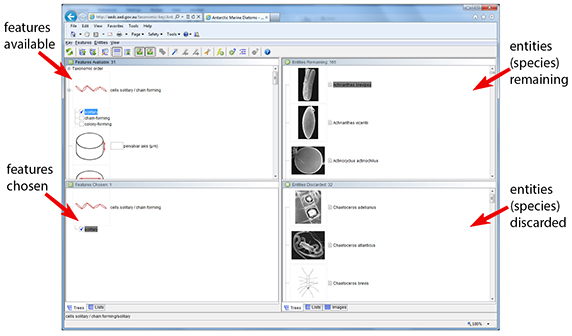
Fig. 1 Opening screen of Lucid with four windows.
Using your sample (material on a microscope slide or stub, or a photograph), select any number of features, in any order or combination, to narrow down the choices of entities remaining (species that possess that particular suite of features). Features may have a nature of ‘presence / absence’, pictorial choice of morphology (e.g. shape), or may require a numerical input (e.g. cell size, density of valve striae). The most frequently used menu buttons are identified in Figure 2. The various software functions are described in detail in the online ‘Lucid 3 Player Help’.
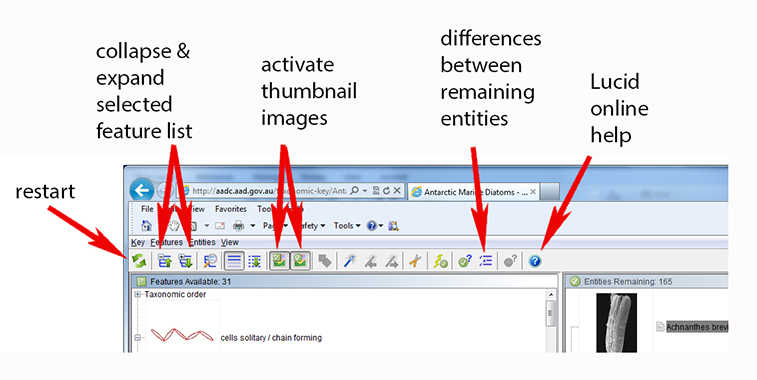
Fig. 2 Frequently used menu buttons.
To view all the images for a given species you must activate the ‘Images’ view option button located below the lower right window (Fig. 3).
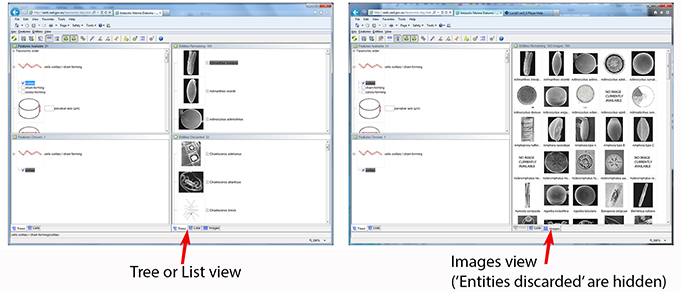
Fig.3 ‘Tree/List’ view compared to ‘Images’ view.
Factsheets are viewed by clicking the ‘page’ icon located next to the thumbnail image in tree/list view (Fig. 4).
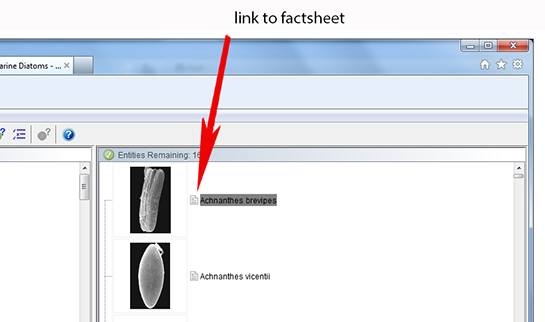
Fig.4 Direct link to Factsheet.